Illuminate Your Nights with Stellar Splendor
Dive into the captivating display of celestial beauty with this DIY night light projector. This project harnesses the power of a microcontroller and vibrant RGB LEDs. Whether you’re drawn to the tranquility of starry skies or the excitement of abstract light patterns, this project promises to illuminate your nights with a mesmerizing symphony of colors and motion.
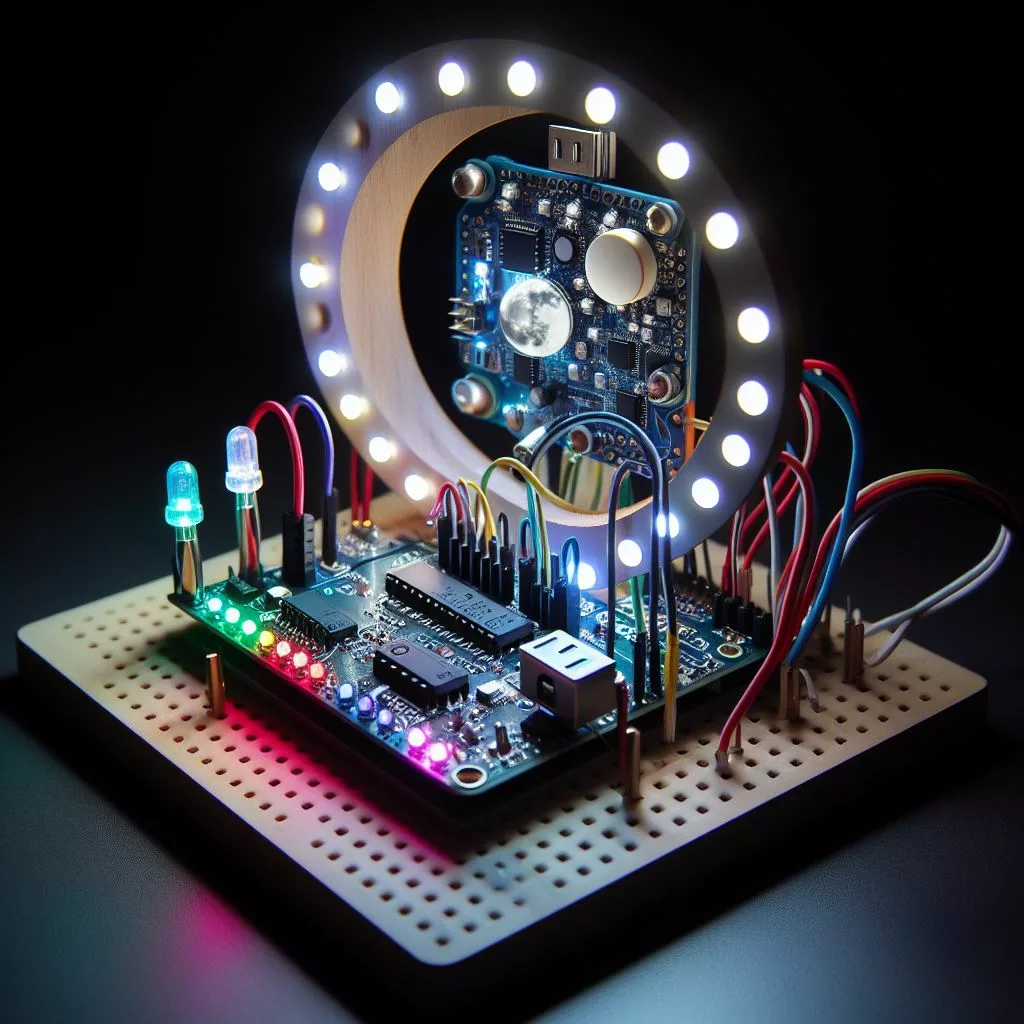
Materials You’ll Need:
- Arduino or compatible microcontroller
- RGB LED strip or individual RGB LEDs
- Motorized turntable (lazy Susan or servo motor with rotating platform)
- Light diffuser (translucent plastic sheet or parchment paper)
- Power supply (5V)
- Connecting wires
- Soldering iron (optional)
Step 1: Assemble the RGB LED Array
Firstly, start by connecting the RGB LEDs to the microcontroller following the manufacturer’s instructions. If you’re using a LED strip, cut it to the desired length and solder the wires to the appropriate terminals. If using individual LEDs, solder them in series or parallel to achieve the desired color mixing.
Step 2: Mount the LEDs on the Turntable
Next, mount the RGB LED array onto the motorized turntable, ensuring that the LEDs are facing outward. The rotation of the turntable will create a dynamic display of moving light patterns.
Step 3: Connect the Microcontroller
Then, connect the microcontroller to the RGB LED array and power supply. The microcontroller will control the color and intensity of the LEDs, as well as the speed and direction of the turntable.
Step 4: Write the Software Code
Program the microcontroller with code that generates the desired light patterns. You can create static patterns, such as single colors or gradients, or more complex animations, such as shimmering stars or swirling galaxies.
Step 5: Add the Diffuser
Place the light diffuser over the LEDs to soften the light and create a more ambient glow. The diffuser will also help to hide any imperfections in the LED array.
Step 6: Enjoy Your Stellar Symphony
Finally, plug in the night light projector and marvel at the breathtaking display of light and color. Adjust the settings of the microcontroller to customize the patterns and color combinations to suit your preferences.
Tips and Variations:

- Experiment with different types of light diffusers to achieve varying levels of softness and translucency.
- Add a sound sensor or motion detector to the project to trigger the light patterns based on external stimuli.
- Create a constellation map by arranging the LEDs in specific patterns to represent stars and constellations.
- Use a larger turntable for a wider field of projection.
Conclusion
With this DIY night light projector, you have the power to create a mesmerizing and immersive light experience in the comfort of your own home. Whether you’re seeking a soothing bedtime companion or a captivating visual masterpiece, this project offers endless possibilities for enchanting your nights with the celestial splendor of stars and vibrant colors. So, gather your materials, unleash your creativity, and immerse yourself in the illuminating magic of this extraordinary DIY adventure!
Of course DIY may not be your thing in which case you can check out our kids night light projector and our display pieces / lenses.
Here are some references to help you:
Adafruit NeoPixel Überguide
Motorized Turntable
Guide for WS2812B Addressable RGB LED Strip with Arduino